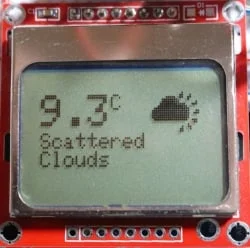
Tutorial on creating graphics for the Nokia 5110 LCD using an Arduino and the Adafruit library
| Please put some money in the tip jar by clicking on the donate button to support me so I can continue creating contend like this. P.S. please donate more than $1 as PayPal takes minimum $0.30 per transaction |
I use the Nokia 5110 display in many of my projects. It is inexpensive and reliable. I also use the Adafruit library for this display as it is easy to use and feature rich. The only issue I had with this library was displaying icons and other graphics on it.
All the tutorials I could find dealt with how to concert a bitmap to a format this display could use were with a utility called LCD Assistant. And this does not work with the Adafruit library. This is for one single reason, it outputs in hex where the Adafruit library uses a binary format.
After searching for a while I found a utility called Bitmap encoder. Watch the tutorial I have created which will take you through the process of taking an image and converting it into a bitmap you can display on the Nokia 5110 lcd.
- Link to Bitmap encoder utility: https://github.com/Rodot/BitmapEncoder
- Link to Adafruit Tutorial for the Nokia 5110 display: https://learn.adafruit.com/nokia-5110-3310-monochrome-lcd
- Link to the Adafruit Library: https://learn.adafruit.com/nokia-5110-3310-monochrome-lcd/downloads

