
Cooling down your Aquarium by using a temperature controlled Fan
| Please put some money in the tip jar by clicking on the donate button to support me so I can continue creating contend like this. P.S. please donate more than $1 as PayPal takes minimum $0.30 per transaction |
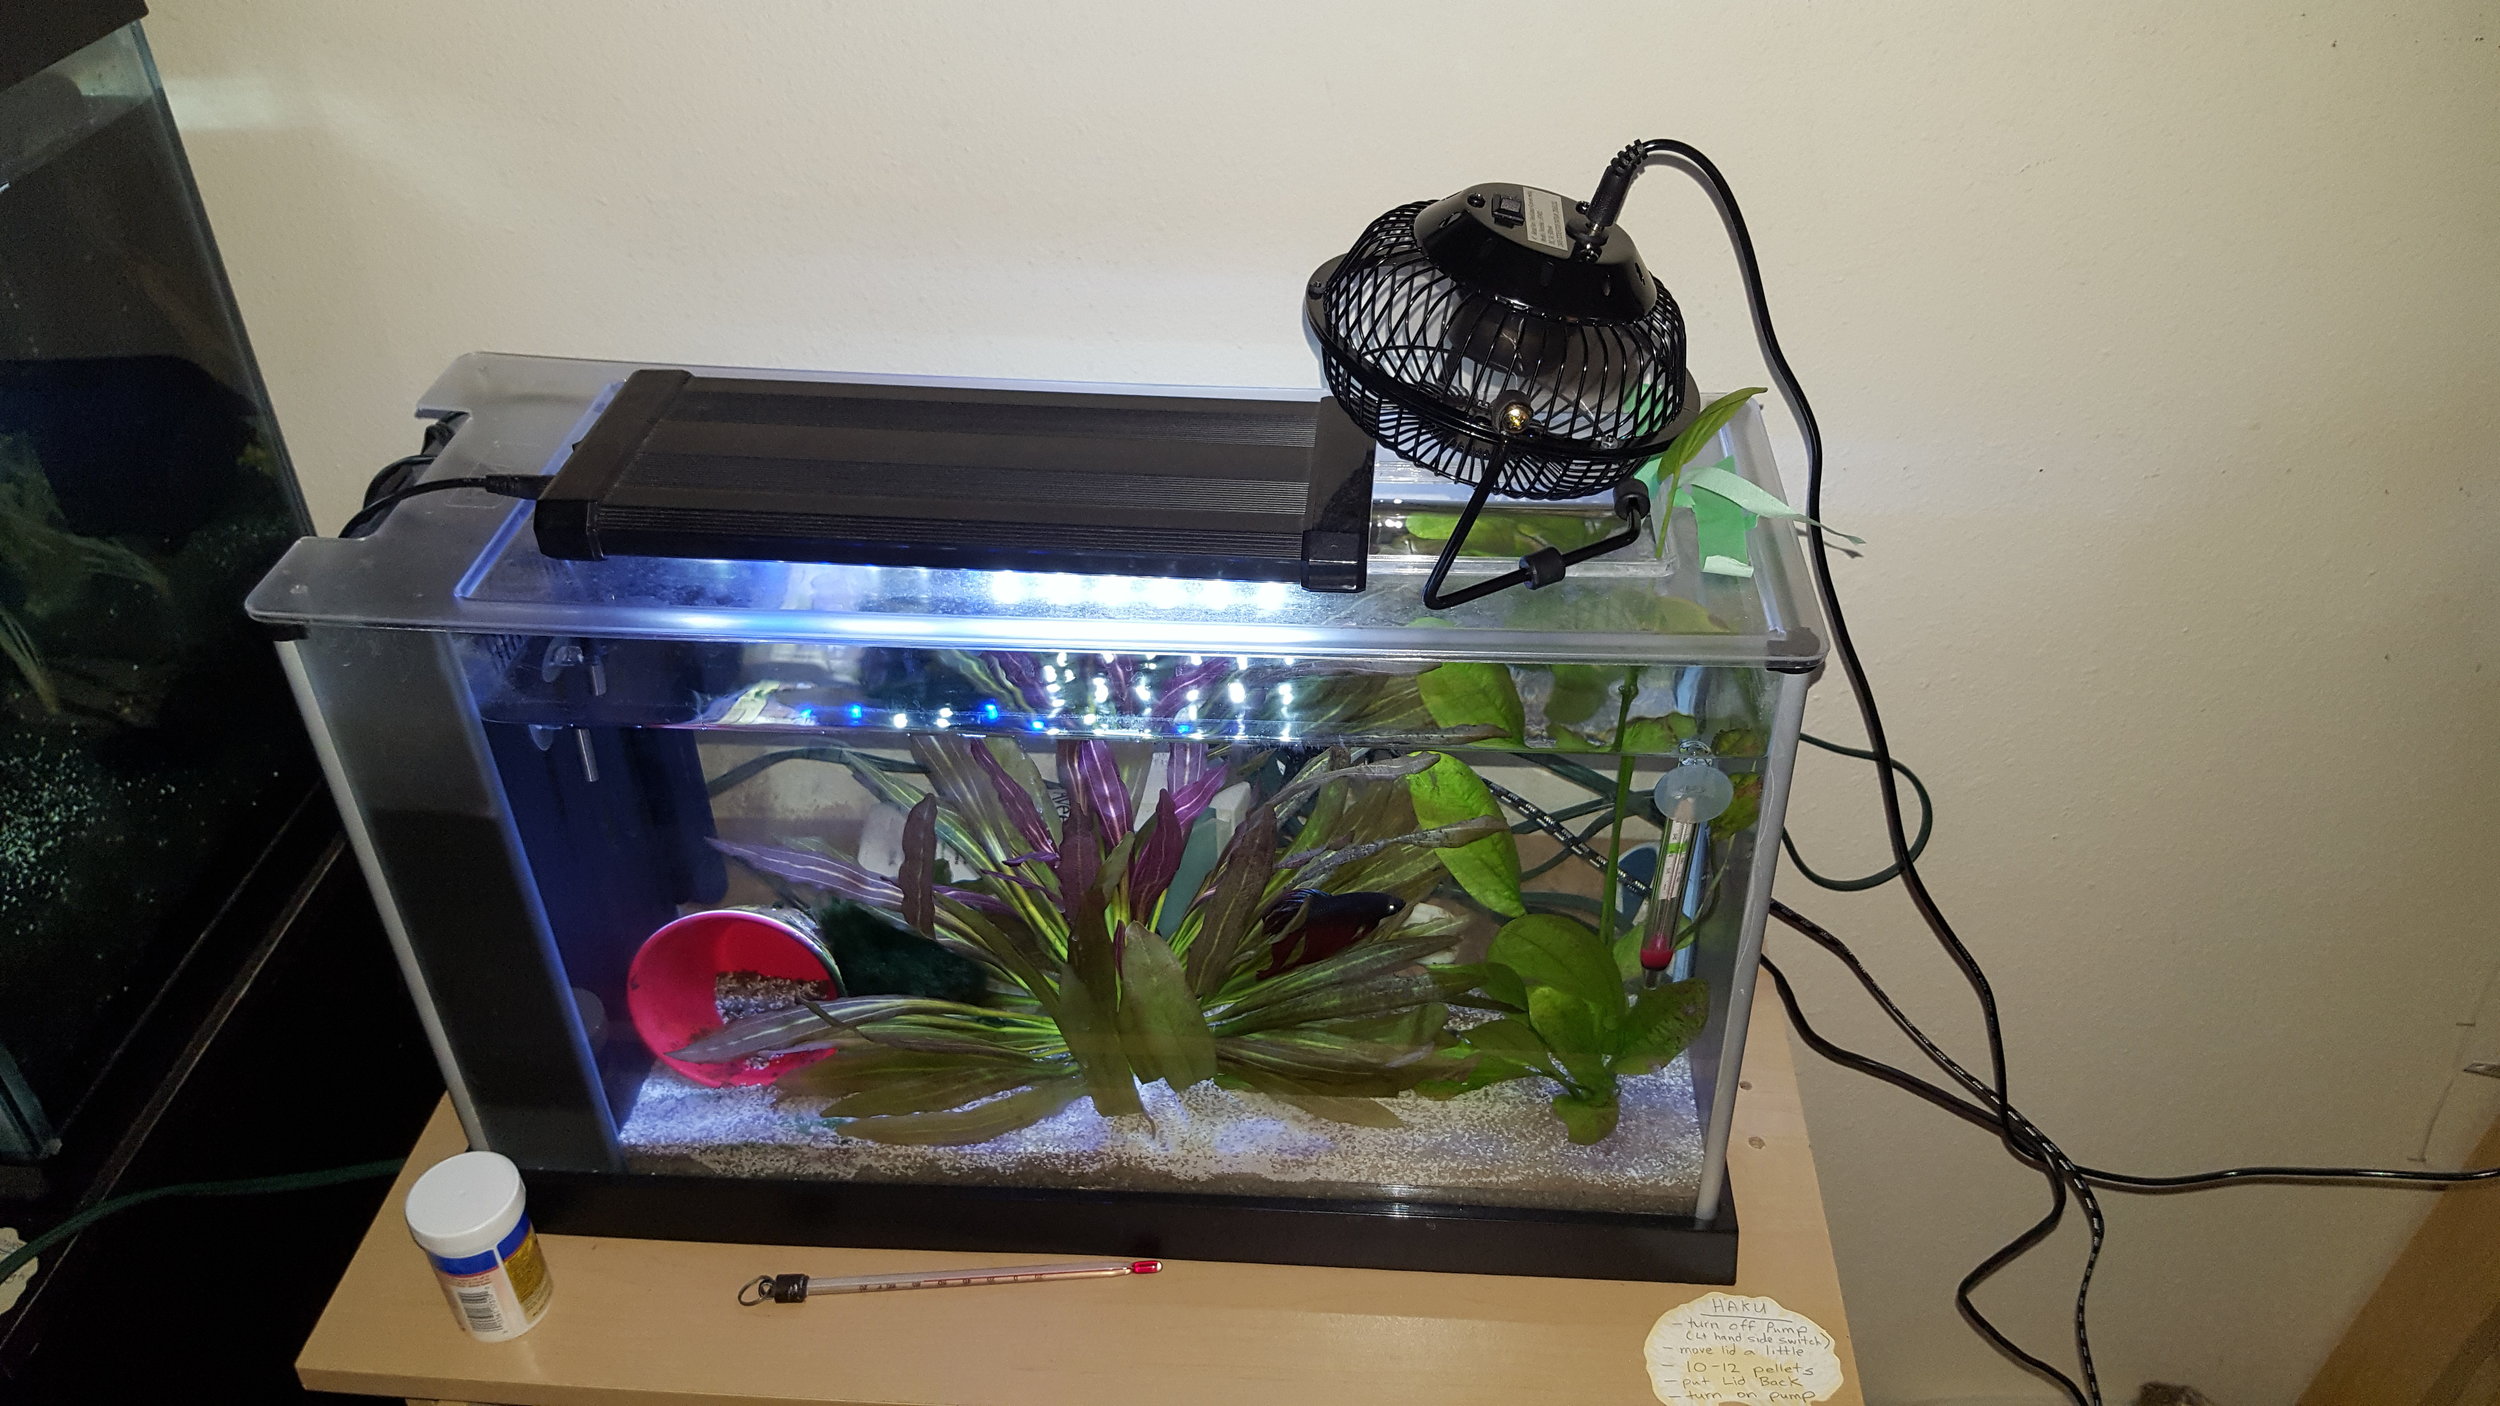
Every aquarium lover is afraid of hot weather. It often means that your tanks are going to be overheating. This can lead to catastrophic results. An easy fix for smaller tanks is to place a small USB fan on top of your tank. It can drop the temperature of your tank by almost 3C less than the the ambient room temperature.
The drawback is that you have a lot of water that evaporates, and your tank temperature can get too cold if your ambient temperature in your room drops. This is why I created an electronic switch using an Arduino that turns the USB fan on or off depending on the temperature of the water.
I created a list of what you need and where to get it. I also created a diagram how to put it together, and even wrote the sketch that operates this all.
What you need:
|
QTY |
Description |
Cost |
Total |
Supplier |
SKU |
|
1 |
ENCLOSURE,
PLASTIC BOX LX 422 101X40X52MM |
2.99 |
2.99 |
Lee's
Electronics |
10361 |
|
1 |
Printed
Circuit Board |
1.7 |
1.7 |
Lee's
Electronics |
10496 |
|
1 |
Arduino
Pro Mini |
23 |
23 |
Lee's
Electronics |
11008 |
|
1 |
USB
Charing Cable 1 M |
6 |
6 |
Amazon |
|
|
1 |
DS18b20
waterproof Temperature Sensor |
13.25 |
13.25 |
Lee's
Electronics |
1255 |
|
1 |
STANDOFF
PLASTIC F/M M3X12MM 10PCS |
2.8 |
2.8 |
Lee's
Electronics |
62650 |
|
1 |
SCREW
NYLON PLASTIC M3 6MM 10PCS |
2.5 |
2.5 |
Lee's
Electronics |
61569 |
|
1 |
transistor
2n2222 5pcs |
1 |
1 |
Lee's
Electronics |
7174 |
|
1 |
Misselanious
wire/others/Resistors 1K/4.7K |
5 |
5 |
Lee's
Electronics |
|
|
1 |
ChillOut®
6" Manual Control USB & AC Adapter Desk Fan, Black |
19.99 |
19.99 |
Staples |
580700 |
Lee’s Electronics web site is: http://leeselectronic.com
How To Connect the components
Connecting the DS18B20 water Proof Temperature Sensor
|
Sensor |
To: |
Notes |
|
Red
Wire (Vin) |
5V |
Can be
different colour |
|
Black
Wire (GND) |
GND |
Can be
a different colour |
|
Data
Wire (White) |
D2 on
Arduino/Pullup 4.7K resistor to 5V |
Can Be
a different colour |
Connecting the Fan to NPN 2N2222 resistor.
|
USB Fan |
TO |
Notes |
|
Connect
red Wire |
5V |
|
|
Black
Wire |
Collector
NPN transistor |
|
Connecting NPN 2N2222 resistor Flat side facing you.
|
NPN
Resistor |
TO |
Notes |
|
Collector
Pin 3 |
GND
Fan (Black Wire) |
|
|
Base
Pin 2 |
1K
Resistor Connected to Pin 10 |
|
|
Emitter
Pin 1 |
GND |
|
Quick build overview
Start with cutting of the USB part of your Fan purchased at Staples. As Stated connect the red wire to 5V and the black to the collector pin of your transistor. If you use a different Fan make sure you know what colour wires you need to connect, otherwise you have a good chance it will run backwards or not at all.
If you have an unused USB charger cable laying around you can cut the mini plug off the end. Check with a multi meter what wire is power and which is ground. Connect power to the raw pin of your Arduino Pro Mini and the gnd to the gnd of the Pro mini.
Before you solder Steps
Completed PCB in the enclosure
Use the PCB as a guide to drill holes in your enclosure for the standoffs. Screw the standoffs in the holes and use a knife to trim of the excess from the back. Drill a whole big enough to put all the cables through in the side of the enclosure.
Build Diagram
Pull the wires through the whole you just drilled before you start soldering. Follow the Build diagram how to connect everything and solder it on the PCB.
Arduino Sketch
The Arduino Sketch you can download from here. In the top of the sketch there is a variable called maxtemp. This indicates the maximum temperature you want your aquarium to get before the fan is turned on. You also going to need the following libraries: