
Project: Creating A NodeMCU Data-Logger Using The Cloud
| Please put some money in the tip jar by clicking on the donate button to support me so I can continue creating contend like this. P.S. please donate more than $1 as PayPal takes minimum $0.30 per transaction |
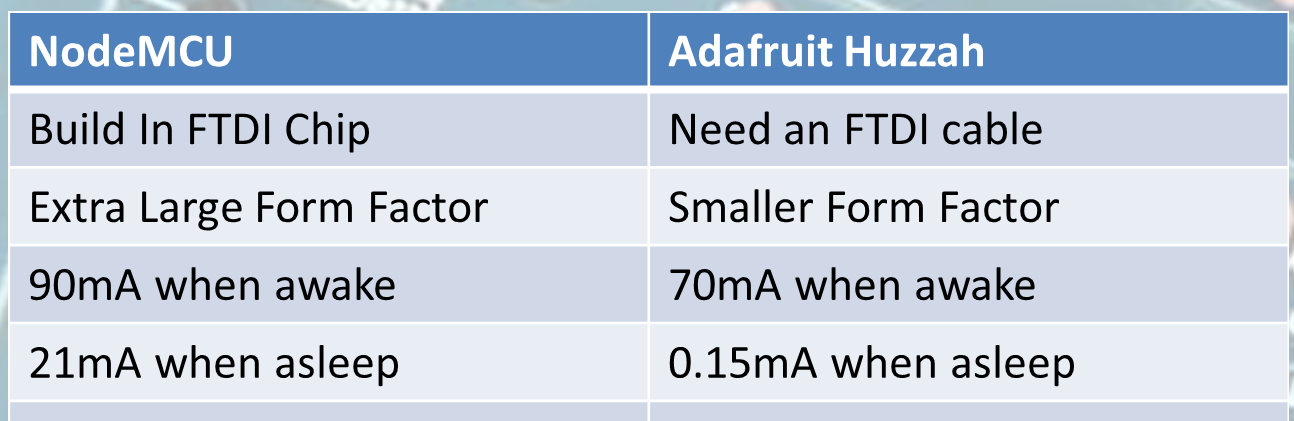
In this project we are going to build a NodeMCU data logger that uses the Adafruit cloud to store the temperature and humidity data. To make it even more exciting we are putting the NodeMCU to sleep in the periods that we are not transmitting the data to the cloud.
The basics of this project are as follows. First we are going to connect a Temperature Humidity sensor (The DHT11 or DHT22) to the NodeMCU. After getting that to work we are going to setup a feed on the Adafruit IO cloud. Then we will write the code to send the temperature data to the cloud using the MQTT protocol. Finally we add the sleep function of the ESP8266 to the mix.
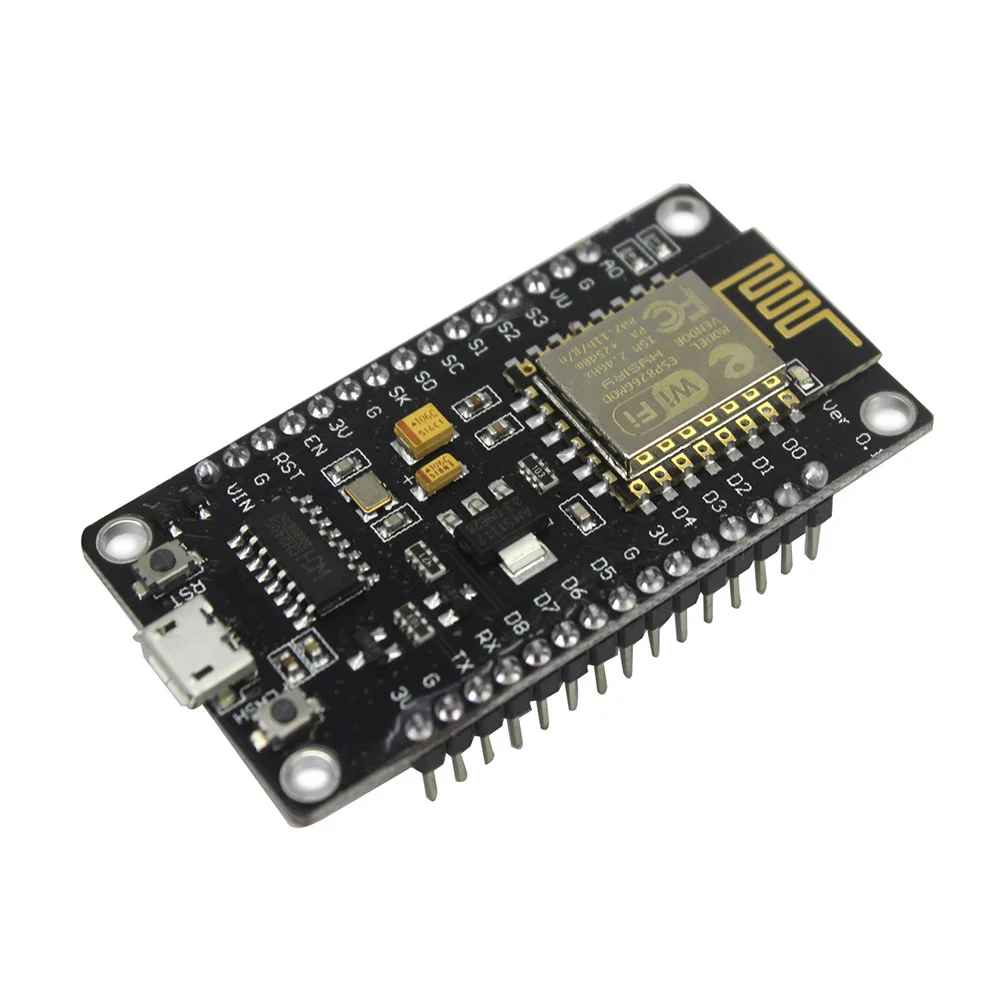
This sounds like a lot, but you will actually see it is a very simple and straightforward process. If you look back a couple of weeks I build the same datalogger only using the Arduino Pro Mini, a RTC, and an SD card writer/reader breakout board. For this project we will only require A NodeMCU, a DHT11/22 sensor, and a connection to the interweb.
Index
List Of Materials Needed For This Project

Connecting the DHT11/22 Sensor
To connect the DHT11/22 family of sensors we are going to use a library specifically designed for the ESP8266 micro controller or compatibles. The library is called DHTesp.h and needs to be installed using the Arduino IDE Library manager.
You can find the Library Manager under the Sketch menu and selecting the Include Libraries, and then the Manage Libraries option. In the search bar type dht to only show the libraries related to the DHT11/22 sensor. Click the more info link on the DHT library for the ESPx. A dropdown will appear where you select the latest version of the driver, then click the install button.
Click To Enlarge
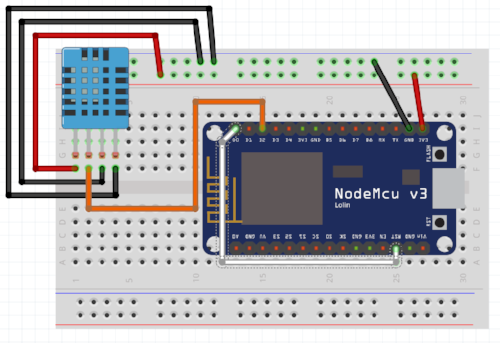
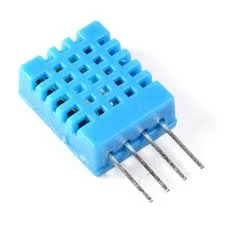
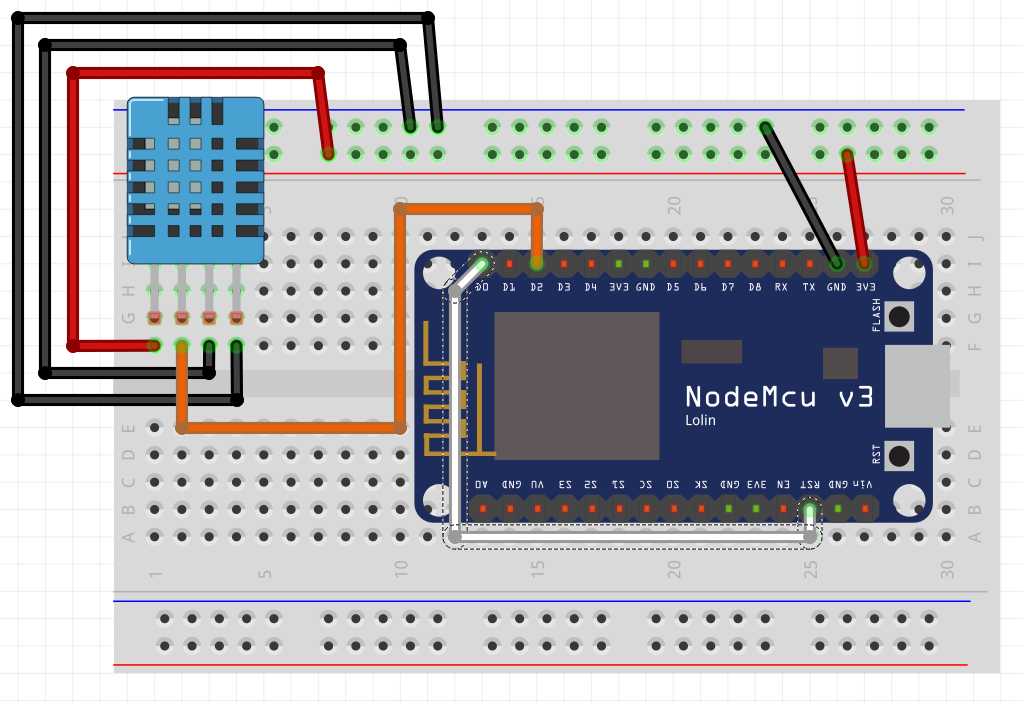
I selected this library as it takes in consideration the slow communication speed of the DHT11/22 when running on 3.3v. Next we connect the sensor as follows (with the grid facing you)
| DHT 11/22 | NodeMCU | Arduino equivalant |
| Pin 1 VCC In | 3.3V | 3.3V |
| Data Out | Pin D2 | Digital Pin 4 |
| GND | GND | GND |
| GND | GND | GND |
| Please put some money in the tip jar by clicking on the donate button to support me so I can continue creating contend like this. P.S. please donate more than $1 as PayPal takes minimum $0.30 per transaction |
If you like this sample project and want to see more of this type of content, consider putting some money in the tip jar by clicking the Donate button. If you want to see more of this content subscribe to my newsletter with the form below or follow me on Facebook. This link will take you to my Facebook page. Hope to see you soon, have a great day and bye for now